
Now that the icon naming system guised in DrWimpC App Builder has been explained this is a convenient place to describe the implementation
of External Help Buttons which uses the icon naming convention.
An external help button is an icon in a window that
gets its help command and interactive help text from an icon defined in a template of another application. The link is the icon's
name. The effect is that you can place an icon in a template of an DrWimpC application and use it to show a help page or
perhaps notes in a text file without requiring the application to have any code to handle the help page or text file or the key/button
press that activates it.
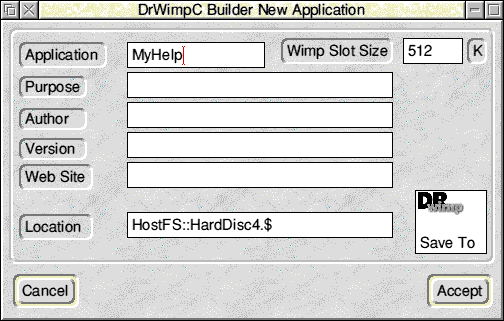
For example, to add additional help information to the DrWimpC App Builder new application
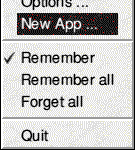
window, first create a new application !MyHelp in DrWimpC App Builder.
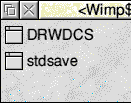
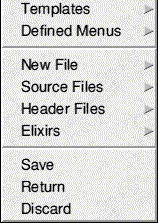
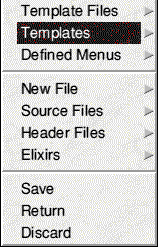
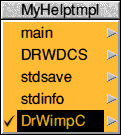
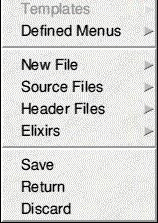
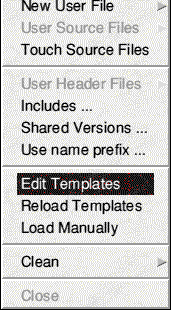
Next start a template edit by selecting theProject menu->Template Files->Edit Templates -> MyHelptmpl menu item.
In this example I create a new template
called 'DrWimpC', but you could equally well use the existing 'main' template, or any other and specify the template's name in the
External Help Button's icon name below in place of 'DrWimpC'.
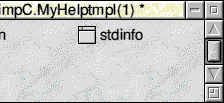
So, create a new template called 'DrWimpC' and add a display
field to it, naming it in the validation string with the 'N' option, preceding it by a semi-colon as usual, with the name
-
;NMyHelp:MyHelptmpl/DrWimpC.napphelp
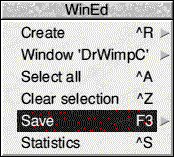
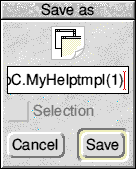
and save the template file.
Now add the Help Text command to the button by right
clicking on it in its DrWimpC App Builder template to open the Icon Click dialogue. Enter the help command in the Help Text field
and select 'OK' to save the change. In the example here I have used the !Root page of the DrWimpC Functional API manual to illustrate
the use of External Help Buttons by the command -
StrongHelp DrWimpC:Resources.UK.DrWimpCAPI !Root?
but you can add a different
one, or a text file using the TextFile command. The use of full file paths means you can store the actual stronghelp manual,
or text file, anywhere you want to.
Note the '?' at the end of the command. This indicates that the button should respond to
mouse clicks - which is why it should have button type 'Click'. It will also respond to the F1 key when the mouse pointer is over
the button and one of your application's windows has the input focus (or you have set the 'Hot Keys' flag for the window and the F1
key press is not claimed by another application. If you don't want the button to respond to mouse clicks then the '?' isn't required
in the Help Text command, and the button type can be set to NEVER.
Next perform a similar edit on the DrWimpC App Builder newapp template
by dragging the DrWimpC App Builder icon from its filer window into the !DrWimpC Applications list and following the instructions
for the MyHelptmpl DrWimpC template, begin a template edit on the newapp template.
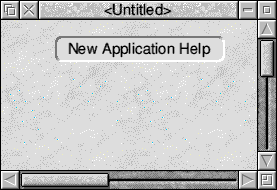
Add the Help button and give it a button
type of 'Click'. and the same icon name as above, and save the template file. Now the next time DrWimpC App Builder is loaded
it will start using the new newapp template definition when clicking on the new Help button, or pressing thru F1 key will cause
the help page to be shown - !StrongHelp must have been seen by the Filer, of course.
This illustrates the fact that you don't
need access to or to change a DrWimpC application's source code to have a help button in its windows. And, as the !MyHelp is local
to your application you don't need to register it, and can call it what you want to, as long as you name the Help button accordingly..

Some uses of such buttons might be to add to the current application help or provide specific help or notes for using - or developing
- an application. to edit the text.
It might seem a bit of an unusual way to add help to an applicator, but it does allow additional
help and instructions to be added to any DrWimpC application at any time even if you don't have access to the source code, and
the help files don't need to be stored inside the application but anywhere you choose.
The only limitation to be aware of is
that a future update to the application's template files could cause the External Help Buttons to be lost from the templates. Normally,
the application's choices directory would be used to store edited files, but in this case Template files are an integral part of an
application, and are language dependent so need to be stored in the language directories in the application's Resources directory.
Large scale editing of released templates wasn't usual in the past.
To get round this I suggest that before installing an application
update containing template files, move any current templates with External Help Buttons out of the way first and either restoring
them afterwards if the new template definition matches the old, or editing the new template definition to reinsert the External Help
Buttons into the template's new definition. Not ideal, but as explained the template files can't really be placed elsewhere.





;NMyHelp:MyHelptmpl/DrWimpC.napphelp
