drwimpc001012.png drwimpc001013.png
The DrWimp C Application Builder
External Help Buttons Part 2.
Home
Continuing on from the example in Part 1 all that needs to be done now is place the External Help Button in the template the help information applies to. So, drag the !DrWimpC application icon from its filer window into the !DrWimpC applications list and begin a template edit on the newapp template in template file DrWimpCtmpl.
drwimpc011009.gif
3. Place the External Help Icon into the target template.
drwimpc011013.gif
drwimpc011014.gif
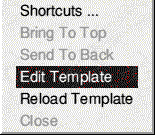
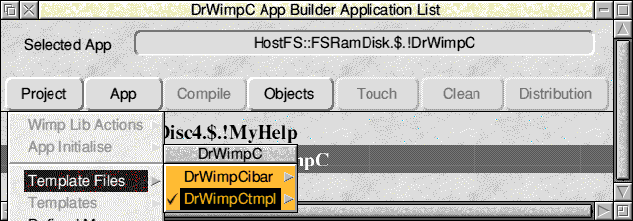
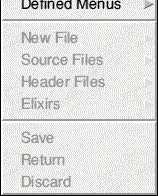
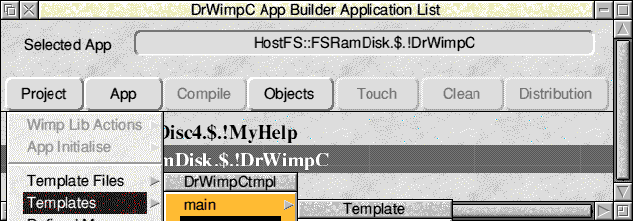
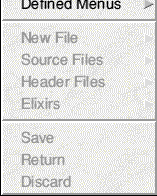
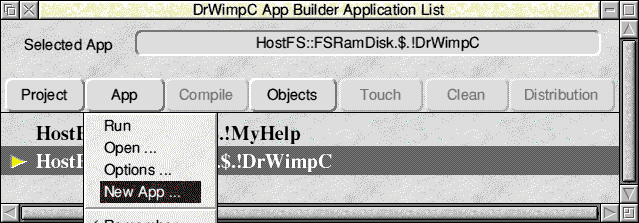
3a. <Adjust> click on the DrWimpCtmpl template file name to keep the Projmenu open. then navigate to the newapp Template submenu as shown and start a template edit by selecting the 'Edit Template' menu item.
drwimpc011001.gif
3a. Additional Notes.
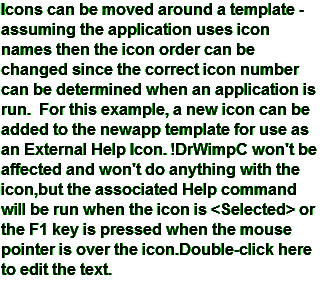
The greyed out elements are due to !DrWimpC being a released DrWimpC application that contains only run time components. Certain elements can still be changed such as redefining the Shortcut key codes (perhaps in case of a clash with another application. The application's template and menus can also be edited, colours and
drwimpc011003.gif drwimpc011002.gif drwimpc011004.gif
drwimpc011011.png
drwimpc011010.png drwimpc011012.png
Back to TOP
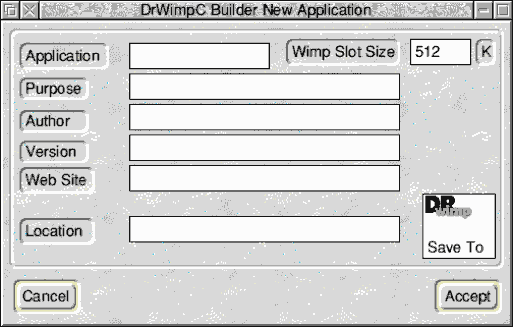
The newapp template before the Template Edit.
drwimpc011008.gif
3b. Adding the External Help Icon.
In the newapp template loaded into the template editor add a new icon of button type 'Click', and name in the validation string of

;NMyHelp:MyHelptmpl/DrWimpC.napphelp

This matches the name in the equivalent template inside the MyHelptmpl template file !MyHelp.Resources.UK directory. This name is what links the icon in the DrWimpC newapp template to the help command associated with the icon in the !MyHelp template. The name must be fully qualified by the application name, template file and window definition name to correctly make the link.

I've also given the icon in the DrWimpC newapp template a border type of r6.3. That is also specified in the validation string (before the ;N clause)..

When you have made these changes save the DrWimpC newapp template.
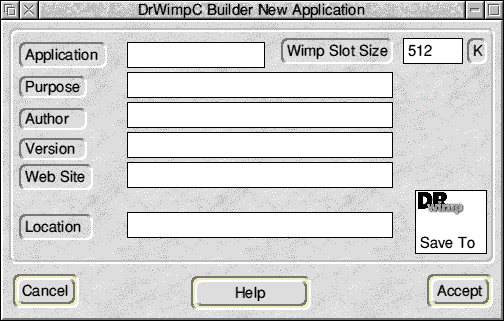
The image below shows the saved template.
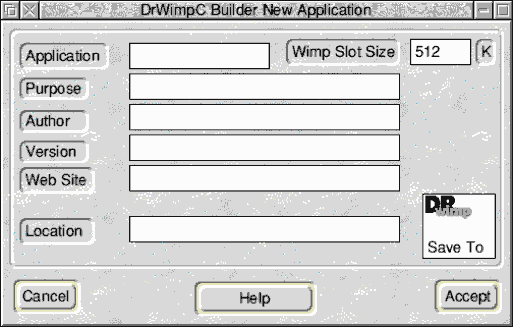
drwimpc011007.gif
3c. Testing the Result.
Make sure the !StrongHelp application has been seen by the Filer.

The next time !DrWimpC is run the new template definition will be used. To test it,
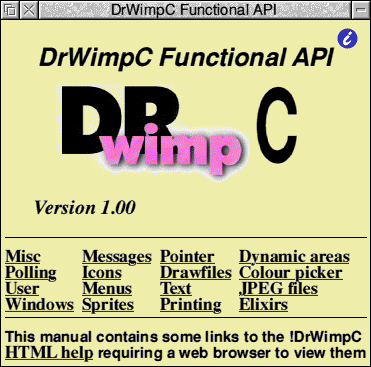
navigate to the New Application window and click on the Help icon. If all is well and the icon names have been correctly entered and match you will see the Root page of the DrWimpC Functional API displayed.
drwimpc011005.gif
drwimpc011006.gif
newappehi.png
3d. The DrWimpC Functional API Manual Root page should be displayed when the new Help button is <Select>ed or the F1 key is pressed.
drwimpcfapi.png
Previous: External Help Buttons.
Next: Programs Written Using DrWimp;C Application Builder